Tom Donachie
http://donachiecapture.blogspot.com/
Now I will be reviewing Tom's work. I have to admit his work is brilliant, the website he has done looks very professional, he has done alot of research and done all the tasks in this blog. You can tell from the start what the website is about, straight to bikes, also the colouring, you can tell by the metallic silver that bikes are included. The website itself is easy to navigate, got a good side bar and great logo. Great work I have to say.
Tuesday, 7 June 2011
Website Work In Progress
First of all I made about thirteen pages saved and ready for the website, I am basing this around just a simple and working website, nothing more, as long as I can get it to work then it is still a website. First of all I grabbed my logo ready to be placed on each page, here is the logo I am using.

After that I put a home link inside each logo, yes even the one on the home page. Now I began to add two links into every page, these links will take you to the sub main pages known as Monster Hunter Tri and Monster Hunter Freedom Unite.

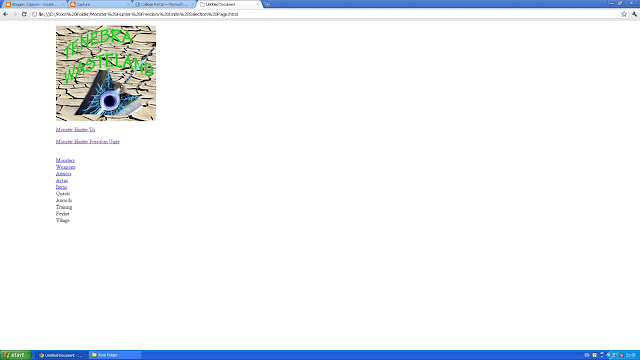
Now I am focusing on the Monster Hunter Tri page, on here I am going to make a list of important stuff within the game and use half of those as links, these links will lead to information.

Now when we enter one of these links, for example, the Monster link, a whole list of the Monsters in game will come up in a list, even sorted into categories. This is what it would look like.

Finally I have repeated the same thing with Monster Hunter Freedom Unite, this information however, is based on the Freedom unite game, here are similar screenshots.

After that I put a home link inside each logo, yes even the one on the home page. Now I began to add two links into every page, these links will take you to the sub main pages known as Monster Hunter Tri and Monster Hunter Freedom Unite.

Now I am focusing on the Monster Hunter Tri page, on here I am going to make a list of important stuff within the game and use half of those as links, these links will lead to information.

Now when we enter one of these links, for example, the Monster link, a whole list of the Monsters in game will come up in a list, even sorted into categories. This is what it would look like.

Finally I have repeated the same thing with Monster Hunter Freedom Unite, this information however, is based on the Freedom unite game, here are similar screenshots.


Dreamweaver Demo
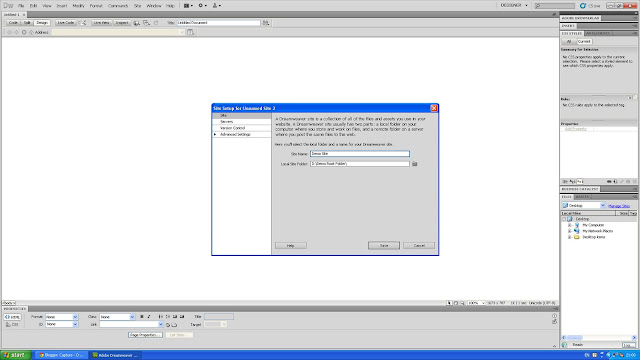
Okay I am now going to do a demo on Dreamweaver. This demo will include creating a table, a link to another page and text. First of all you will have to make a root folder which I have called 'demo root folder'. After opening Dreamweaver you will then need to click on HTML, then Site>New Site. This will basically open up a window where you choose a name for your site and which folder you want to put it in, this is where your new folder comes in.
Now to change the background of your website, go to the bottom of the screen and click page properties, then Appearance (HTML) and choose your colour.

Now for the tables, you can do the button combo CTRL+ALT+T which will then open up a window for editing your table.

Now for images in the table, you will need to make a folder inside the root folder, this time name it Images or something along the line. Save an image in the folder. You will then need to find the cell you want the image in and click 'insert image', then choose the image.

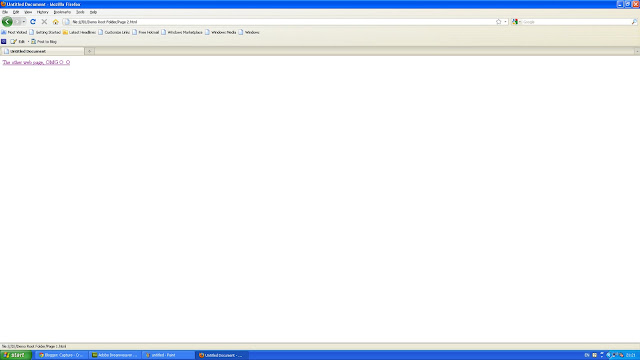
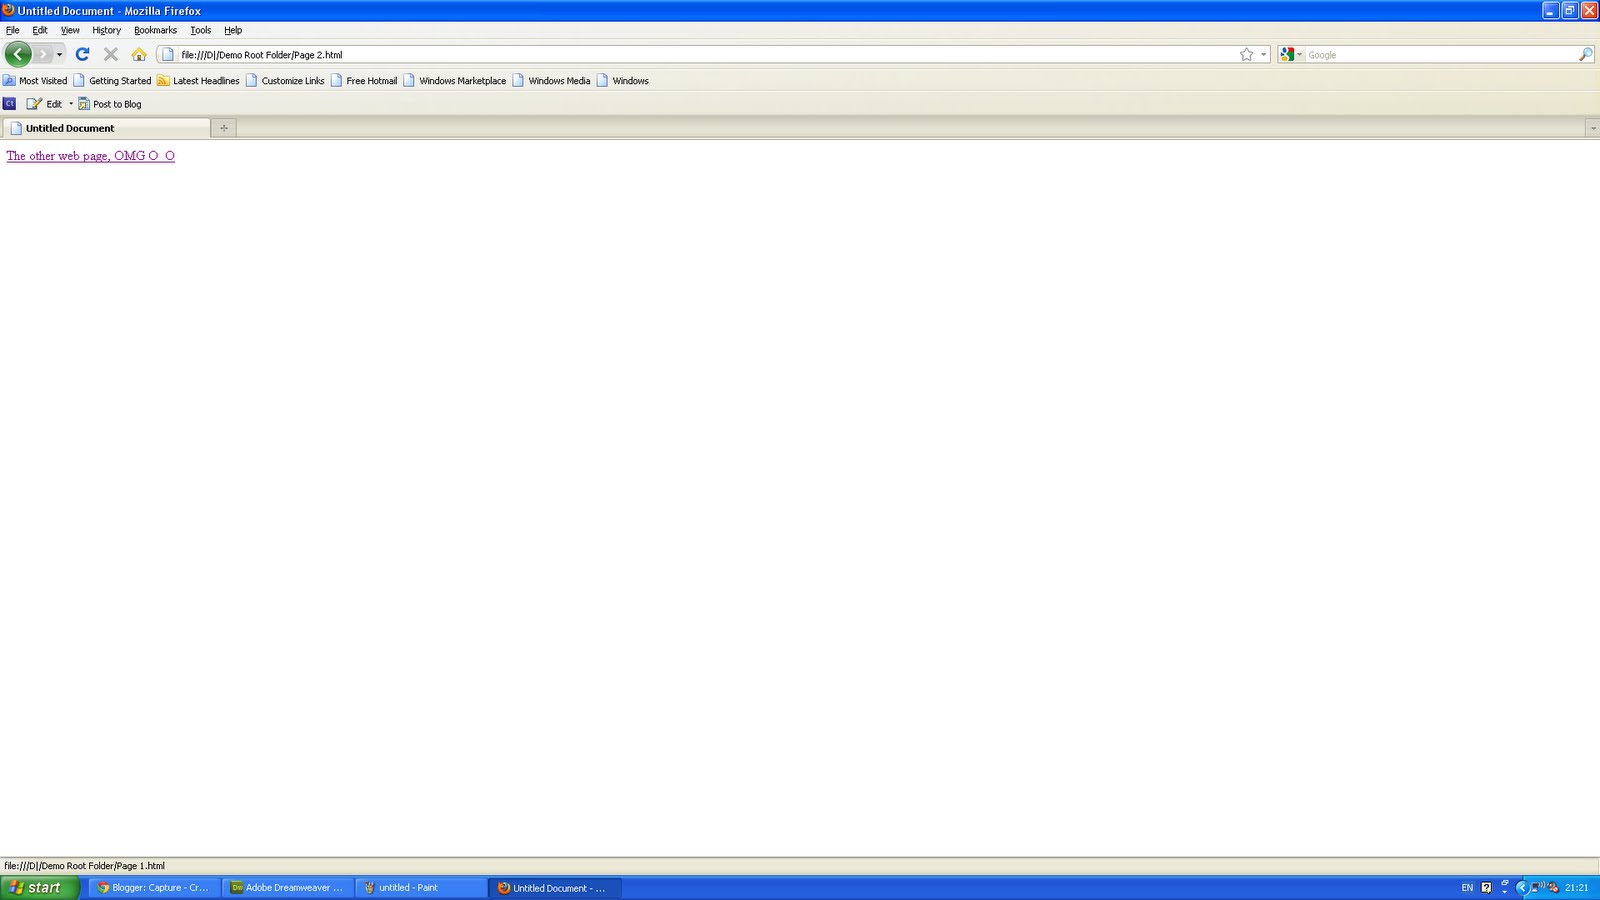
Finally to make a link, you must make another page, any page, just make sure you save it in the same root folder, then click insert>hyperlink and then find it in your folder.


Now to change the background of your website, go to the bottom of the screen and click page properties, then Appearance (HTML) and choose your colour.

Now for the tables, you can do the button combo CTRL+ALT+T which will then open up a window for editing your table.

Now for images in the table, you will need to make a folder inside the root folder, this time name it Images or something along the line. Save an image in the folder. You will then need to find the cell you want the image in and click 'insert image', then choose the image.

Finally to make a link, you must make another page, any page, just make sure you save it in the same root folder, then click insert>hyperlink and then find it in your folder.

Home page Layout
Now I have done the homepage, it may be very basic but it is simple and easy to navigate around. Here is a simple version of the home page.


Site Map
I have made a rough Site Map of my website, here is the site map, more should be there but that would take forever as it is just other links on the same pages.


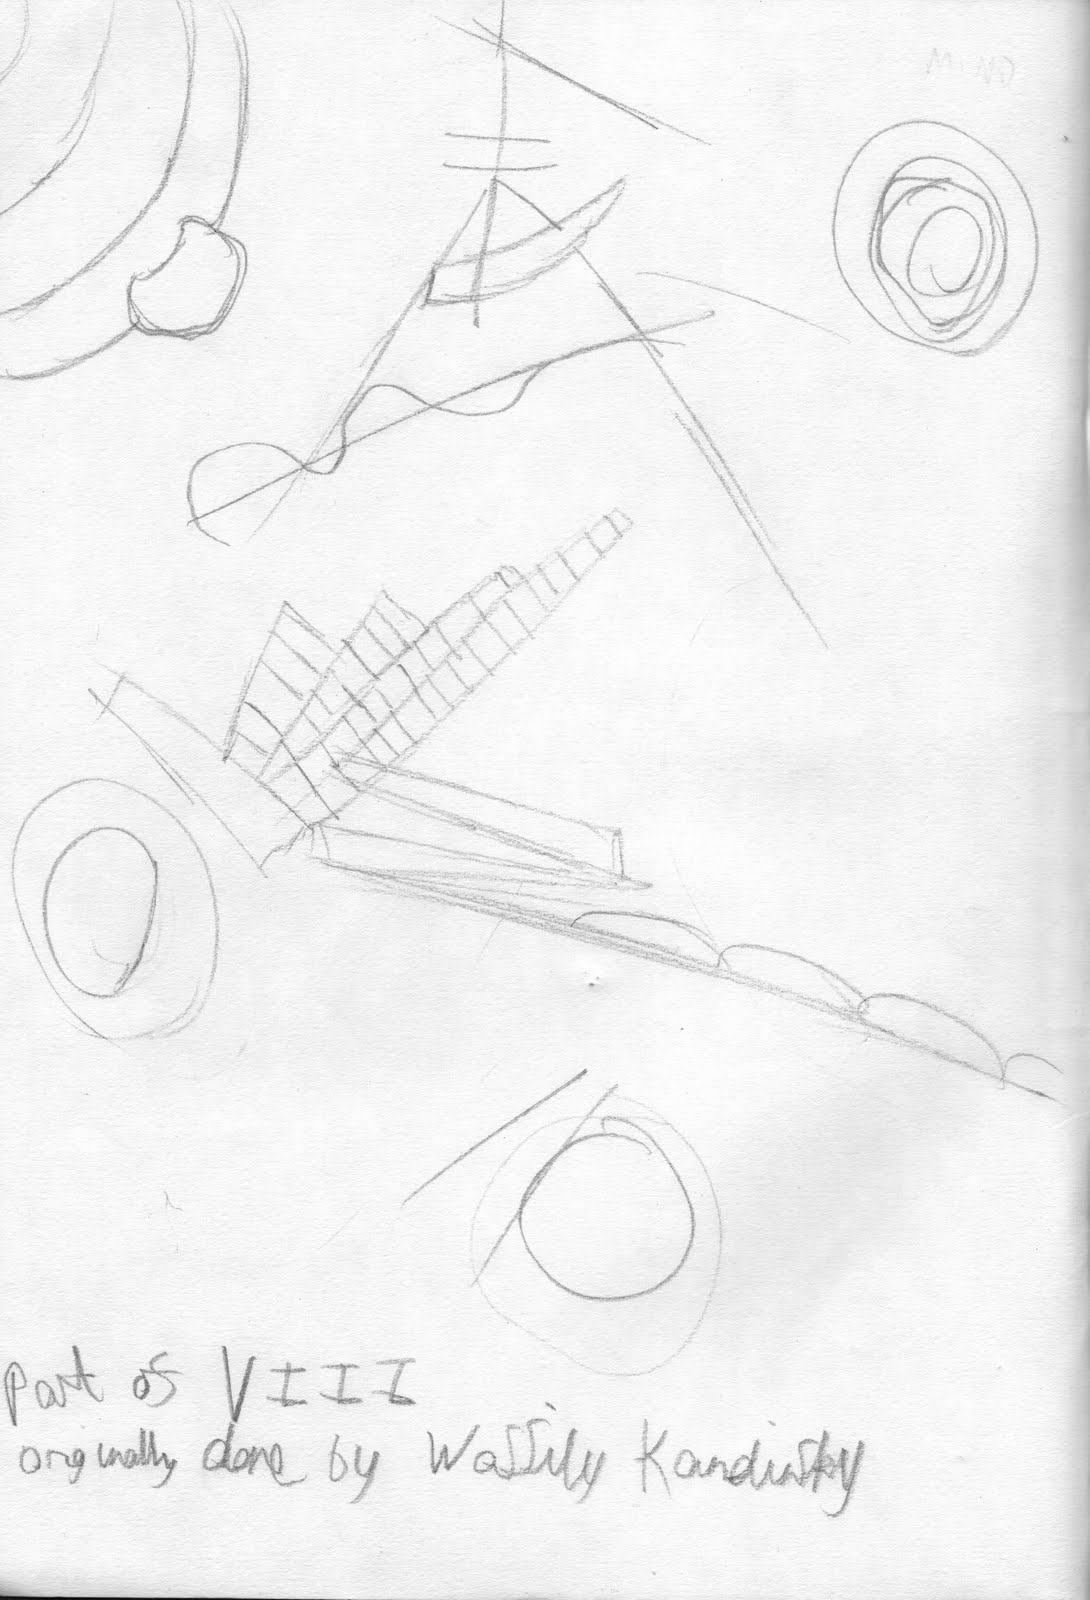
Examples of Varied forms
Scanning
In computing, an image scanner—often abbreviated to just scanner— is a device that optically scans images, printed text, handwriting, or an object, and converts it to a digital image. Common examples found in offices are variations of the desktop (or flatbed) scanner where the document is placed on a glass window for scanning. Hand-held scanners, where the device is moved by hand, have evolved from text scanning "wands" to 3D scanners used for industrial design, reverse engineering, test and measurement, orthotics, gaming and other applications. Mechanically driven scanners that move the document are typically used for large-format documents, where a flatbed design would be impractical.
Modern scanners typically use a charge-coupled device (CCD) or a Contact Image Sensor (CIS) as the image sensor, whereas older drum scanners use a photomultiplier tube as the image sensor. A rotary scanner, used for high-speed document scanning, is another type of drum scanner, using a CCD array instead of a photomultiplier. Other types of scanners are planetary scanners, which take photographs of books and documents, and 3D scanners, for producing three-dimensional models of objects.
Another category of scanner is digital camera scanners, which are based on the concept of reprographic cameras. Due to increasing resolution and new features such as anti-shake, digital cameras have become an attractive alternative to regular scanners. While still having disadvantages compared to traditional scanners (such as distortion, reflections, shadows, low contrast), digital cameras offer advantages such as speed, portability and gentle digitizing of thick documents without damaging the book spine. New scanning technologies are combining 3D scanners with digital cameras to create full-color, photo-realistic 3D models of objects.
In the biomedical research area, detection devices for DNA micro arrays are called scanners as well. These scanners are high-resolution systems (up to 1 µm/ pixel), similar to microscopes. The detection is done via CCD or a photomultiplier tube (PMT).
Here are a few scans, these have been done by me.


Textures
Texture in a painting is the feel of the canvas. It can be based on the paint, and its application, or addition materials such as ribbon, metal, wood, lace, leather and sand. Texture in painting stimulates two different senses, visual and tactile. There are four types of texture in art: actual texture, simulated texture, abstract texture, and invented texture. The concept of 'painterliness' also has bearing on 'texture' in painting.
In the visual arts, texture is the perceived surface quality of a work of art. It is an element of two-dimensional and three-dimensional design and is distinguished by its perceived visual and physical properties. Use of texture, along with other elements of design, can convey a variety of messages and emotions.
These are images that I have found on Google.


Collages
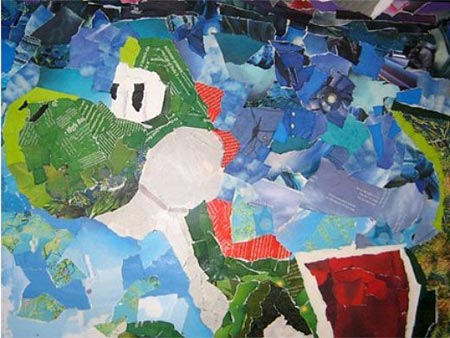
A collage (From the French: coller, to glue, French pronunciation: is a work of formal art, primarily in the visual arts, made from an assemblage of different forms, thus creating a new whole.
A collage may include newspaper clippings, ribbons, bits of colored or hand-made papers, portions of other artwork, photographs and other found objects, glued to a piece of paper or canvas. The origins of collage can be traced back hundreds of years, but this technique made a dramatic reappearance in the early 20th century as an art form of novelty.
The term collage derives from the French "colle" meaning "glue". This term was coined by both Georges Braque and Pablo Picasso in the beginning of the 20th century when collage became a distinctive part of modern art.
Here are some images that i have found on Google

Don't ask about the gap, Blogger is being weird.

Monday, 6 June 2011
Website Mind map
I have done a mind map for my website about the basics. Here is what I have thought about doing.


Pan and Zoom
First of all I chose an image which will be appropriate for the pan and zoom so the with the image it will zoom into the tall building and pan across it. With this I have inserted an image into flash. I then made the image fit into the centre. I then used key frames and turned the image into a movie clip. I then pressed F6 then used the free transform tool to increase the size. I then pressed F6 again and moved the image, creating a zoom and pan motion. Here is my version.

Here is the screen shot of how the image starts out.

This screen shot shows that I have made the image zoom in by using free transform.

And finally this screen shot shows that I have panned by dragging the image across the page.

Here is the screen shot of how the image starts out.

This screen shot shows that I have made the image zoom in by using free transform.

And finally this screen shot shows that I have panned by dragging the image across the page.
Website Screen Grabs
Here are a few Screen grabs of the website I have created, it may be basic but it works.

Home Page

Main Page 1

Main Page 2
Each link works and the banner also works as a home page button. Every link has information or words that were going to be used for links but make it look like they are still under construction.

Home Page

Main Page 1

Main Page 2
Each link works and the banner also works as a home page button. Every link has information or words that were going to be used for links but make it look like they are still under construction.
Tuesday, 31 May 2011
Good and bad websites
I'm going to do research on two good and two bad websites. Here are the bad ones and my reasons why.
For a start with this bad website, we didn't even know what it was about at first, we had to read and find out, it is even a university website! Wow I am sorry to say this but this is a terrible website, it took me a while to find the navigation too which is in a plain white box which is boring too.. And I have to say without reading what the background is about, "what is this about?'. I have to say that this website is very poor.

Okay now this website gets a 10/10 for making me laugh about how bad this website is. I could describe this website in one word 'clutter'. This is an absolute mess which makes it hard to get around, a plain background and just rubbish everywhere. There is no structure and order this this... thing. What is what, where is where and why did they even go through with publishing this design? So many questions that needs to be found out about this terrible excuse of a website.
okay now thats out of the way... lets focus on some better websites.

Now this is a good website, a nice easy navigation, a simple but effective background which doesn't make anything hard to read. Also it has its main selling points out on view which isn't cluttered or messy. A contact area at the top which also helps. A simple logo too. I cannot see a flaw in this website.

As much as I hate the Iphone I have to admit this is a good website. A nice simple and easy to read navigation, information layout which is easy to read and simple. Also has a simple background which goes well with the text. And finally a straight to the point seller which tells you about the product with an instant order now button. The colours aren't bright either which makes it easier to read and not so much in your face. Also it gets to the point about what they do with big bold letters.
Wednesday, 16 February 2011
Evaluation
Okay now its time to evaluate my work. I have to make a working website and add lots of plans such as, Website layout, website design, time plan for the website and so on. I have spent a good 2-3 months on this project. I based my website around a game called Monster Hunter, This is a computer game about slaying monsters. For the website I have added many things to do with Monster Hunter. I have included a monster list, area list, items list and weapons list. I managed to make a several links working website and an easy to use menu which anyone can select to find an easy way around to find what they are looking for to help them. I have only based the website on two of the Monster Hunter Games which are Monster Hunter Tri and Monster Hunter Freedom Unite. I am hoping after the project, to turn this into a proper website to help many fans and hopefully make a forum as well so its an area to discuss about the games. A lot of the work and research I have done were influenced by the Monster Hunter games and the Monster Hunter Wiki. I thought after looking at the website, it would be a good idea to help provide information on the games, and add new information that the wiki doesn't have. Also I want to take some screen shots of my game play but I haven't managed to get around to that yet. Next time I will use screen shots and make the menu more styled towards the game itself. I think I will also style it more with a better background. Overall I learnt alot from the Capture project. I have learnt how to use Dream weaver, along with more font styles, I have also learnt how to put a website together.
Wednesday, 9 February 2011
Contents
Graffiti - http://captureae.blogspot.com/2011/01/graffiti.html
Marantz - http://captureae.blogspot.com/2011/01/marantz.html
3DS Max - http://captureae.blogspot.com/2011/01/3ds-max.html
3DS Max Modeling - http://captureae.blogspot.com/2011/01/3ds-max-modeling.html
Shop Front - http://captureae.blogspot.com/2011/01/shop-front.html
Snooker Ball - http://captureae.blogspot.com/2011/01/snooker-ball.html
Squared Apple - http://captureae.blogspot.com/2011/01/squared-apple.html
Photo Merge - http://captureae.blogspot.com/2011/01/now-we-have-lent-camera-and-went-on-top.html
Web Research - http://captureae.blogspot.com/2011/01/web-research.html
Website Logo - http://captureae.blogspot.com/2011/01/website-logo.html
Buttons - http://captureae.blogspot.com/2011/01/buttons.html
Photoshop Video - http://captureae.blogspot.com/2011/01/here-is-my-first-attempt-of-doing-video.html
Animated Logo - http://captureae.blogspot.com/2011/01/now-i-have-made-my-logo-and-animated-it.html
Logo Research - http://captureae.blogspot.com/2011/01/logo-research.html
Wordle - http://captureae.blogspot.com/2011/01/wordle.html
More Wordle - http://captureae.blogspot.com/2011/01/more-wordle.html
Website Proposal - http://captureae.blogspot.com/2011/01/website-proposal.html
Site Plans - http://captureae.blogspot.com/2011/01/site-plans.html
Capture Spidergram - http://captureae.blogspot.com/2011/01/capture-spidergram.html
Pen Tool - http://captureae.blogspot.com/2011/01/pen-tool.html
Typography - http://captureae.blogspot.com/2011/01/typography.html
T-shirt - http://captureae.blogspot.com/2011/01/here-i-have-done-multiple-designs-for-t.html
Max Text - http://captureae.blogspot.com/2011/01/max-text.html
More Text - http://captureae.blogspot.com/2011/01/more-text.html
Wordle 3D - http://captureae.blogspot.com/2011/02/wordle-3d.html
3D Piano - http://captureae.blogspot.com/2011/02/3d-piano.html
More 3D - http://captureae.blogspot.com/2011/02/more-3d.html
Even More 3D - http://captureae.blogspot.com/2011/02/even-more-3d.html
Another Bunch Of 3D - http://captureae.blogspot.com/2011/02/another-bunch-of-3d.html
Rough Site Map - http://captureae.blogspot.com/2011/02/rough-site-map.html
Time Plan - http://captureae.blogspot.com/2011/02/time-plan.html
3D Word Art - http://captureae.blogspot.com/2011/02/3-d-word-art.html
Evaluation - http://captureae.blogspot.com/2011/02/evaluation.html
Tuesday, 8 February 2011
3-D Word Art
Today we have done some more 3D work, this time we had to go Edit>Preferences>Performance and click on the Enable OpenGL Drawing. We then set the background as black and duplicated it, then used the gradient tool to make a black and white background. Next we entered any text and turned both the text and gradient background 3D and merged it together. Next we did Window>3D. We then moved and placed all the text and gradient to certain positions, added a spotlight and made the reflections on 50. Then we changed the Quality to Ray Trace Draft and then we are done, this is mine.


Wednesday, 2 February 2011

Rough Site Map
Here I have done a simple version which is a rough sketch of what my website will look like, here is an image of a rough map


Tuesday, 1 February 2011
Another Bunch of 3D
Here are the last of my 3D work for now. The first one is a scene from Bleach and the second is a College.


Even more 3D
I have done some more game related 3D Images. The first one is from the game Okami, the second one is from Legend Of Zelda and the last one is from Metroid Prime. I hope you enjoy these.


More 3D
I have made some more 3D images, these are monsters from Monster Hunter. I thought I would attempt to do 3D images, here are some.


3D Piano
Today we have done a 3D piano. First we got two of the same images and named them red and blue. After that we selected the blue layer and gone onto Adjustments > Curves and set the colour on red with a 0 Output and 251 Input. Same with the Red slide but select Green. Then change the top layer to screen and move it slightly to show the 3D image, here is my piano.


Wordle 3D
Today we have done some 3D Wordle, I used the 3D merge alot with 3D postcards on photoshop, here is my finished result.


Monday, 31 January 2011
More Text
Today we have started to make a glass effect in words on photoshop, we have used the polygonal tool and used it to create triangles which act as glass shards. Next We have used the lasso tool and used it to creat a circle and in that we used feather on 50, we then selected the cloud option under filter and we Radial Blurred it at 100. Finally we selected all the text and done the command, Fill, 50% grey and chose a colour, we then made a shadow for the text and we finally added the colour of the explosion to the shadow of the text.


Max Text
Here is the latest thing done on 3ds max. Its a spotlight on text infused with various monsters from the Monster Hunter Series. I just cant get the spotlight to be round D:. The way this technique seems is by wrapping images around the text. Anyway here it is.

Overall I think this is a great looking text, although it was overly complicated to make as I cannot even remember how to do it anymore. I do really think it is an effective, attention grabbing method of text.

Overall I think this is a great looking text, although it was overly complicated to make as I cannot even remember how to do it anymore. I do really think it is an effective, attention grabbing method of text.
T-shirt
Here I have done multiple designs for t-shirts through most of my art and a few photos taken from Astor park, here are the designs.


Subscribe to:
Comments (Atom)